Auburn unit repainting: before and after
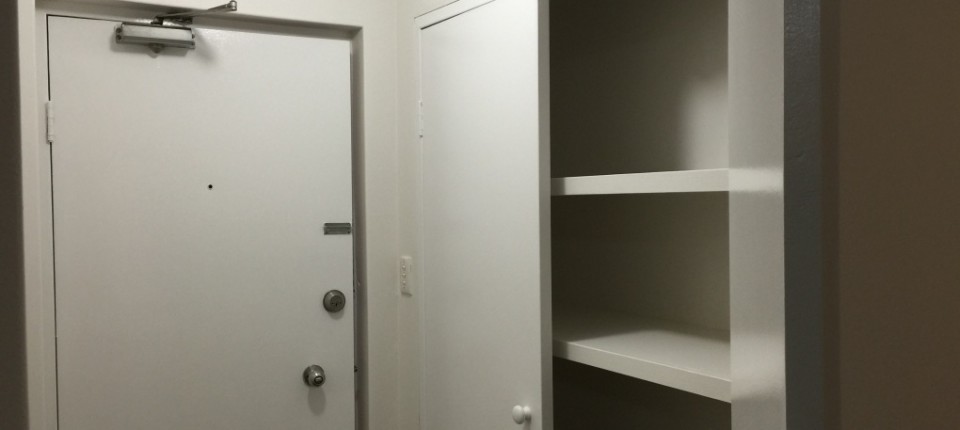
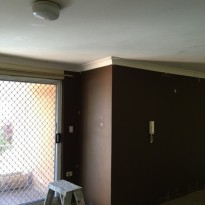
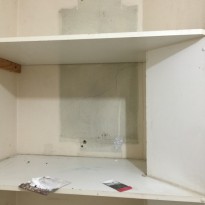
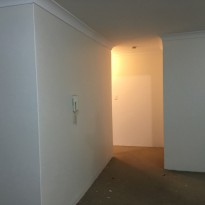
This Auburn unit repainting project brings together photographs of the existing interior and the repainted spaces. The gallery shows a change from dark wall colours to light finishes, alongside entrance-door and built-in storage details.
Project photographs
Before painting
After painting
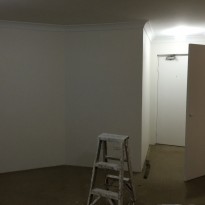
What the project photographs show
The before photographs include a dark-coloured wall beside a glazed door and an existing recess with visible surface marks. The after photographs show light wall surfaces, a hallway transition and the entrance-door area. These views help show how wall colour and the treatment of edges contribute to the presentation of a unit.
Look at wall corners, door surrounds and the change between storage recesses and adjoining walls. A unit repaint is made up of several connected surfaces; deciding which ones belong in the scope helps create a consistent result.
Planning your own unit repaint
If you want to move from a dark colour to a lighter scheme, send a wide photograph of each room as well as close-ups of marked or damaged areas. Tell us whether ceilings, doors, frames, shelves and skirting are part of the job.
For an occupied unit, include furniture access and the rooms that must remain usable. For a vacant property, share key collection and handover dates. Building access, lift arrangements and the time available all belong in the initial discussion.
Plan a similar project
Tell us your suburb, the rooms or surfaces involved and the finish you like. Photos of your own property help us discuss preparation, finish choices and a useful scope for your quote.